

01
From fabrication to assembly
Cut on the board.
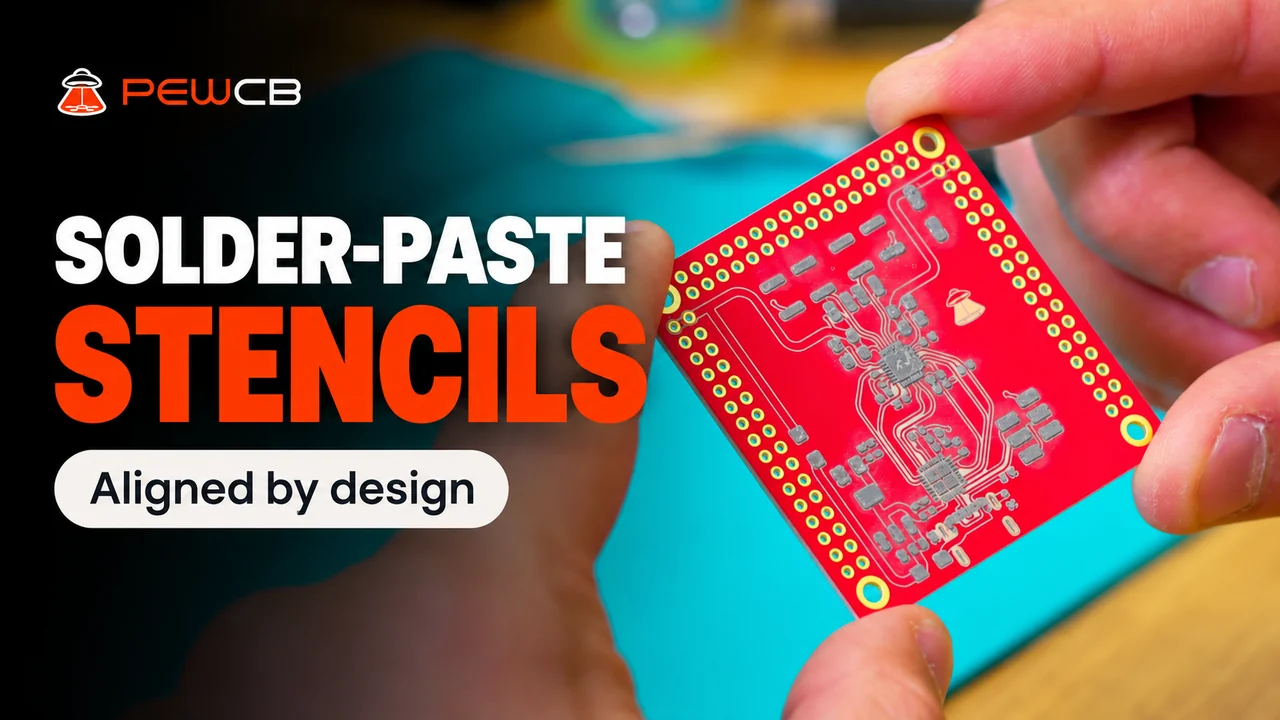
Aligned by design.
Wrap a thin tin sheet around the finished PCB and put it back in PewCB One. The laser cuts the openings from your Gerber Paste layer directly over the pads. The sheet stays attached while you apply solder paste.
The stencil workflow
01

02

03

04
The stencil is made on the board it belongs to. No manual fiducial matching, stencil frame, clamps, or external alignment jig is needed.
As the openings are cut, a small amount of tin is deposited onto the exposed copper pads. This helps protect the copper from oxidation and improves solderability.
After removing the stencil, place the components and reflow on an external hot plate or suitable reflow equipment. PewCB One fabricates the board and stencil; it does not place or reflow components.
Matching sheets
Choose the tin sheet that matches your blank. The solder-paste stencil is single-use: it stays attached during cutting and paste application, then is peeled off before component placement.
For custom blanks, discuss the matching sheet and assembly workflow with our engineers.

Single-use sheets for solder-paste openings cut directly over the PCB pads.
From $1 / sheet
Sheets supplied in packs of 20.
Shipping costs, import duties, and regional taxes are not included.
Shop stencil sheetsShipping costs, import duties, and regional taxes are not included. Confirm the format, availability, and pricing with our team.
Get early access to PewCB One.